Building Your Platformer: A Guide to Designing Your Own Levels
29 March 2025
Let’s face it: platformers are absolute classics in the gaming world. From stomping Goombas in Super Mario Bros. to surviving grueling stages in Celeste, platformers have earned a special place in the hearts of gamers everywhere. But have you ever thought about building your own platformer? Designing your own levels? Yeah, I’m talking about crafting those jumps, hazards, puzzles, and secrets that keep players glued to their screens.
If you're ready to jump into this creative rabbit hole, buckle up! In this guide, we’ll break down the process step by step. By the end, you’ll have a solid understanding of what it takes to create levels that are fun, challenging, and downright addictive. Whether you're a hobbyist or looking to start your own indie masterpiece, this is where the magic begins.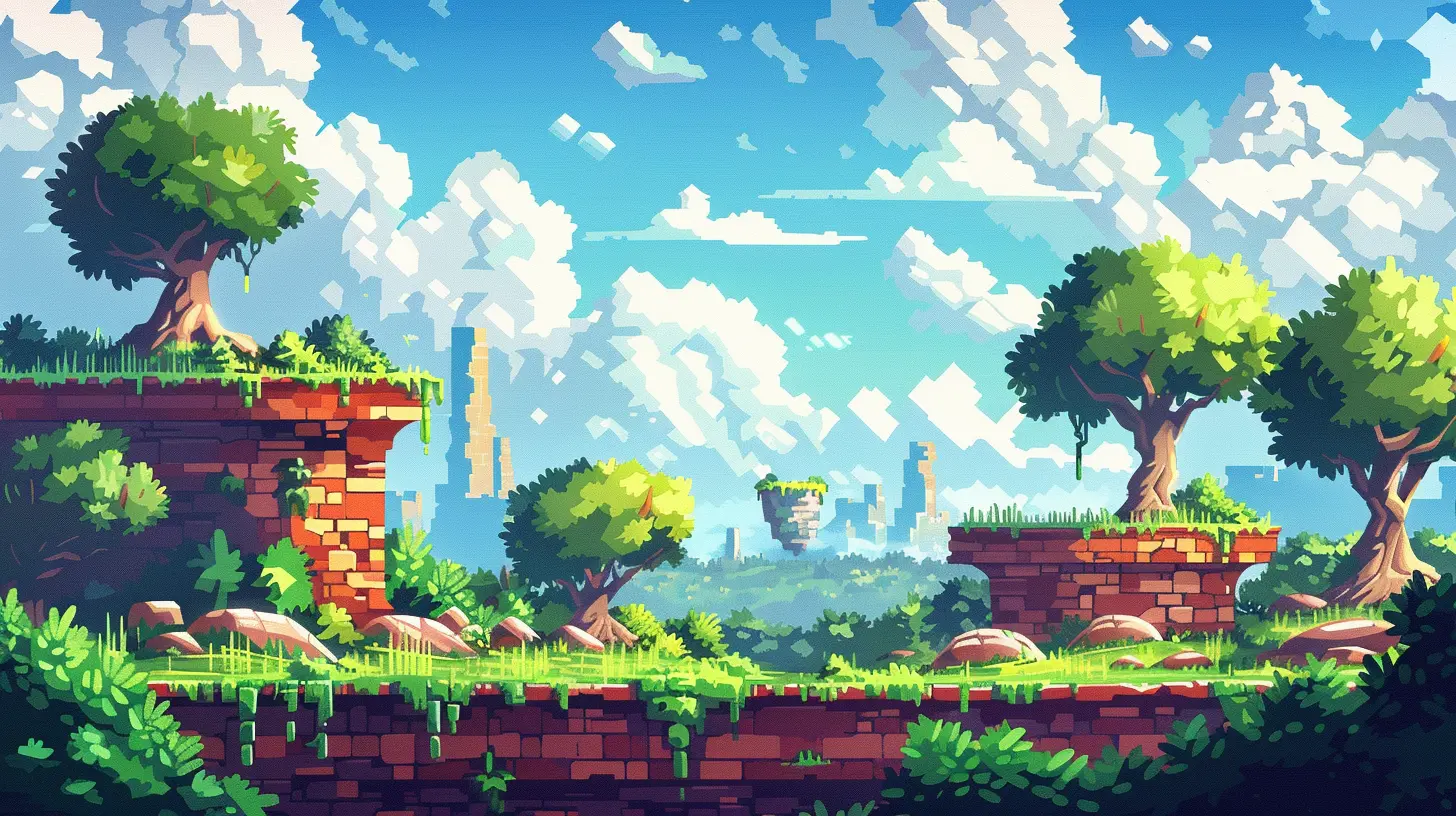
The Foundations of Great Level Design
Before you start making the next Hollow Knight or Super Meat Boy, you need to lay down the foundation. Level design isn’t about slapping random objects and platforms around—it’s about creating a cohesive experience.1. Know Your Game Mechanics Inside Out
First things first: your platformer’s mechanics are the backbone of your levels. Can your character double jump? Wall-climb? Slide under obstacles? The answers to these questions will heavily influence how you design levels.For instance:
- If your character can double jump, you have the freedom to place platforms slightly farther apart.
- If wall-climbing is a feature, vertical level layouts become an exciting option.
Pro Tip: Build a “mechanics playground” during your early planning stage—a simple level where you test all your game’s abilities. This will give you a better feel for what's possible.
2. Define the Tone and Theme
Think about the vibe you want your platformer to have. Is it a whimsical adventure like Rayman or a challenging gauntlet like Celeste? Your tone and theme will guide the visual design, as well as the pacing of your levels.For example:
- A lighthearted game might include colorful environments, slow-moving hazards, and forgiving checkpoints.
- A dark, gritty platformer might have spiked traps, narrow escapes, and heart-pumping timing challenges.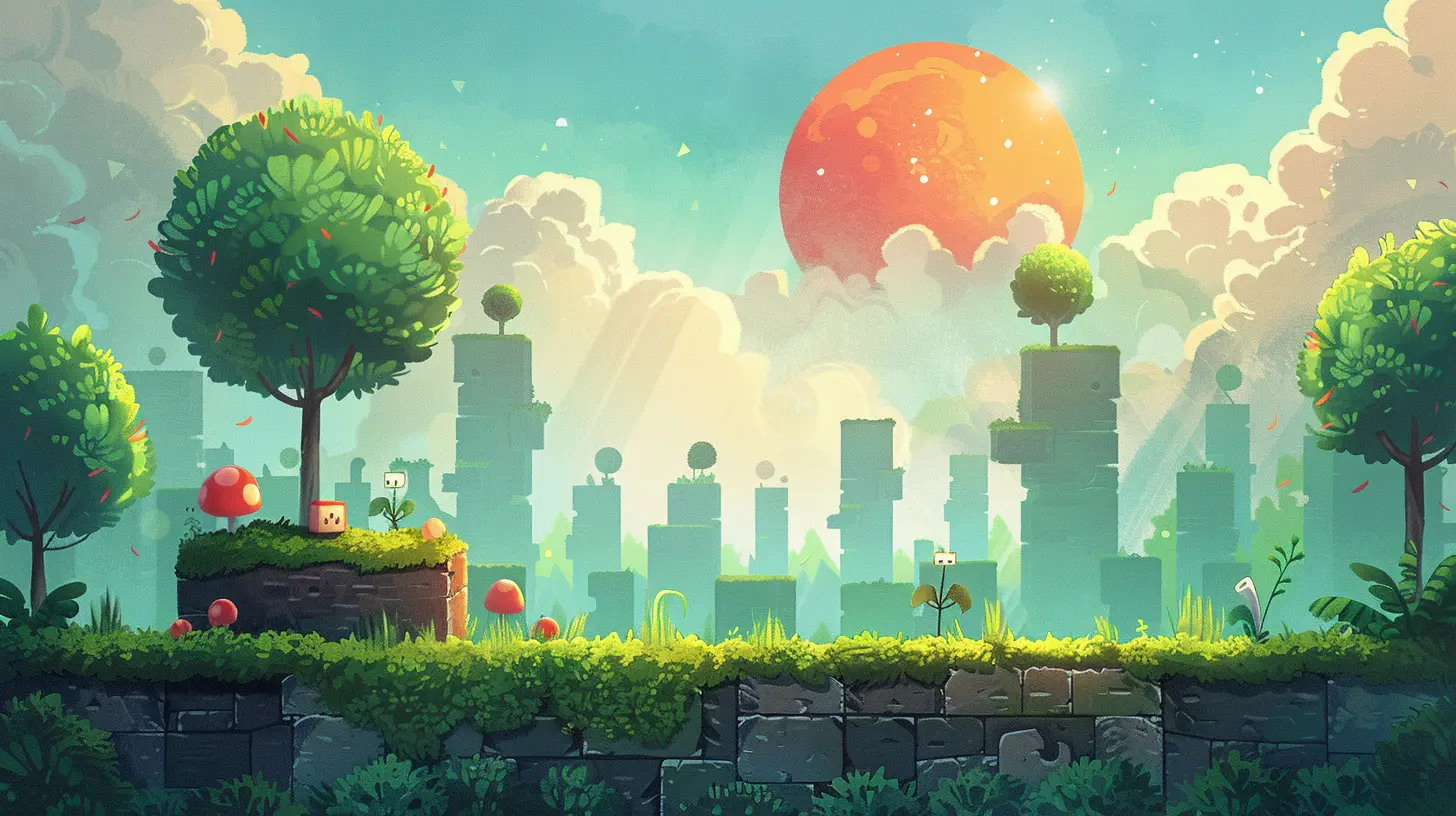
Designing Levels That Keep Players Hooked
Now that you’ve built a foundation, it’s time to dig into the nitty-gritty of level design. Creating engaging levels isn’t just about difficulty—it’s about crafting an experience that feels fair, rewarding, and fun.1. Start Simple and Build Complexity
Don’t throw players into the deep end right away. Nobody wants to rage-quit before level two! Instead, think of your game level like a conversation. Start simple: introduce a mechanic, give the player time to understand it, then gradually layer on the complexity.For example:
- Introduce moving platforms in a safe environment first.
- Slowly combine them with hazards like spikes or enemies.
- By the end of the level, create a section where mastering moving platforms is essential.
This step-by-step approach trains your players without them even realizing it. It’s like teaching someone to swim by starting in the shallow end instead of tossing them off a pier.
2. Introduce Variety and Surprises
Let’s be real: nobody likes repetitive gameplay. If every level feels like a rehash of the last one, your players will lose interest fast. The trick? Mix things up! Introduce new mechanics, obstacles, or puzzles over time.Here’s how you can spice things up:
- Add environmental shifts, like moving from a forest to an icy tundra.
- Introduce timed challenges to create urgency.
- Toss in hidden collectibles or secret paths for the completionists out there.
Think of it like cooking—a pinch of spice here, a new ingredient there, and suddenly your dish (or game) becomes irresistible.
3. Reward Exploration
Players love to feel clever. Reward them for snooping around your level by hiding treasures, shortcuts, or easter eggs in unexpected places. Whether it’s a shiny collectible or a secret path that skips a tough section, these moments make players feel like adventurers.Pro Tip: Use curiosity to your advantage. Place something interesting just out of reach—a ledge, a glowing object, a strange-looking enemy—and let players puzzle out how to get there.
4. Find the Perfect Difficulty Balance
Ah, difficulty. This is where things get tricky (pun intended). Your levels should be challenging enough to feel rewarding but not so hard that they feel unfair. Think of difficulty as a delicate balancing act.Here’s how to strike that balance:
- Test your levels with a variety of players, from beginners to experts.
- Include checkpoints to reduce frustration during longer challenges.
- Offer visual or audio cues to help players time their jumps and avoid hazards.
Remember, frustration without reward is a one-way ticket to a bad review. Don’t be that game.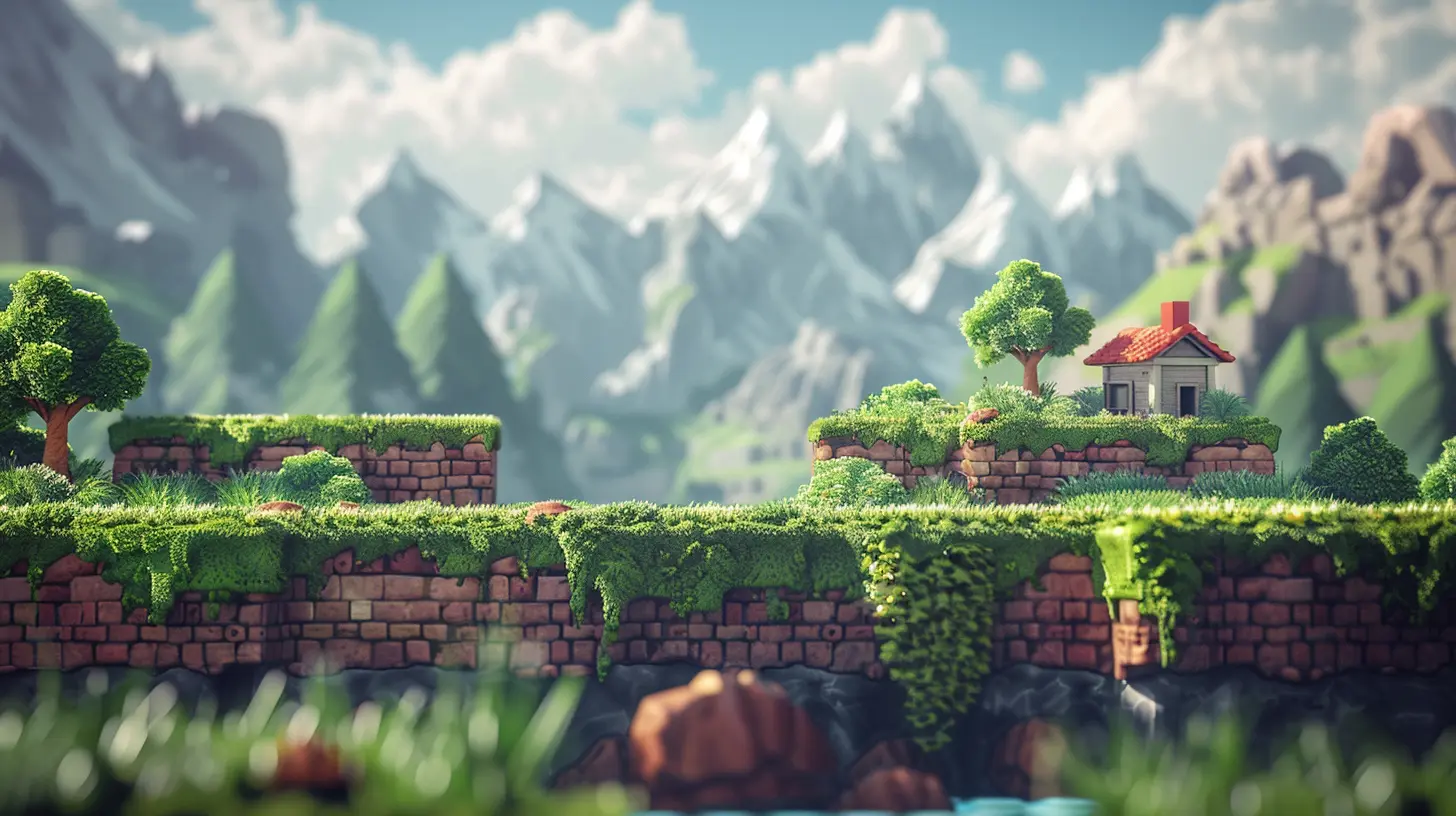
The Art of Visual and Audio Design
Level design isn’t just about placement—it’s also about presentation. The way your levels look and sound can make or break your game’s atmosphere.1. Use Visual Language
Visual cues are your best friend in level design. They help guide players without the need for walls of text or annoying tutorials. Use colors, shapes, and lights to subtly direct players.For instance:
- Brightly colored platforms could signal safe zones.
- Fading lights or cracks on the floor could warn players of collapsing platforms.
- A glowing object might hint at a secret path.
Think of it like road signs in real life—they tell you what to do without saying a word.
2. Sound Design Matters
Never underestimate the power of good sound design! Audio cues can help players feel immersed and also serve as gameplay indicators.Examples:
- A rising pitch might signal an impending danger.
- A satisfying “ping” sound when collecting items can feel incredibly rewarding.
- Dead silence in a certain area can amp up tension, telling the player to tread carefully.
Testing and Iterating: The Real Secret Sauce
Let me give it to you straight: your first draft level? It’s probably going to suck. And that’s okay! The secret to great level design isn’t getting it perfect on the first try—it’s testing, iterating, and testing some more.1. Playtest, Playtest, Playtest
Get feedback from players who aren’t familiar with your game. Watch how they interact with your levels. Are they struggling in places you didn’t anticipate? Are they missing key mechanics? This is your chance to refine.Pro Tip: Don’t explain your level to testers beforehand. If they don’t “get it,” that’s a sign you need to tweak your design.
2. Learn From Frustration
If multiple players are banging their heads against the same obstacle or puzzle, take that as constructive criticism. Either you’ve made something too difficult or too unclear. That doesn’t mean you should dumb things down, but adjust the challenge so it feels approachable.Tools and Resources for Level Designers
Feeling inspired but unsure where to start? Don’t stress! These tools can help you bring your platformer dreams to life:- Tiled: A free, open-source map editor perfect for 2D games.
- Unity: A robust game engine with tons of platformer-friendly assets.
- Godot: Another fantastic game engine, especially for indie developers.
- GameMaker Studio 2: Beginner-friendly and great for creating polished platformers.
- A Pencil and Paper: Seriously. Sometimes the best way to sketch out a level is the old-school way!
Final Thoughts: Make It Fun!
At the end of the day, your goal is to make a game that’s fun to play. Put yourself in the player’s shoes. Would you enjoy the level you’ve designed? Does it flow well? Feel exciting? If the answer isn’t a resounding "yes," don’t be afraid to go back to the drawing board.And remember: level design is an art, not a science. Experiment, take risks, and most importantly, have fun with it. Who knows—this might just be the start of your game design career. Now go out there and start building!
all images in this post were generated using AI tools
Category:
Platformer GamesAuthor:

Tina Fisher
Discussion
rate this article
4 comments
Lily Jennings
Great insights! Designing levels is a rewarding journey that sparks creativity. Embrace the challenges and don’t hesitate to experiment. Every step you take enhances your skills. Keep building and let your imagination soar!
May 5, 2025 at 3:05 PM
Tina Fisher
Thank you! I completely agree—embracing challenges and experimenting are key to enhancing our skills in level design. Let’s keep pushing our creativity!
Skye Perry
This guide is a fantastic resource for aspiring game designers! It breaks down the essentials of level design in platformers, offering practical tips on layout, pacing, and player engagement. I can't wait to apply these insights to my own projects. Great read for anyone looking to enhance their design skills!
April 13, 2025 at 3:35 AM
Tina Fisher
Thank you so much for your kind words! I'm glad you found the guide helpful and inspiring. Best of luck with your projects!
Elowis Carr
Stop dreaming and start designing! Your platformer deserves bold creativity—let your imagination run wild!
April 5, 2025 at 4:16 AM
Tina Fisher
Thanks for the encouragement! I’m excited to dive into the creative process and bring bold ideas to life!
Destiny Griffin
I'm intrigued by the level design tips! How do you balance challenging gameplay with player satisfaction? Can you share examples of successful platformer levels?
April 1, 2025 at 4:46 PM
Tina Fisher
Balancing challenge with player satisfaction involves creating obstacles that are difficult yet fair, allowing for multiple strategies to succeed. For example, in Super Mario Maker, levels that gradually introduce mechanics and offer visible rewards (like power-ups) keep players engaged. Incorporating checkpoints also helps maintain satisfaction through challenging segments.